The Kelvin Knot: A Unique and Stylish Tie Knot
In the world of tie knots, the Kelvin Knot stands out as a captivating and sophisticated choice. Unlike traditional knots like the Windsor or Four-in-Hand, the Kelvin Knot offers a unique and stylish alternative, adding a touch of individuality to your attire. This guide will provide you with a step-by-step breakdown of how to master the art of tying this distinctive knot.
Why Choose the Kelvin Knot?
The Kelvin Knot boasts several advantages that make it an attractive option for tie enthusiasts:
- Distinctive Appearance: Its asymmetric design creates a visually appealing knot with a modern and stylish edge.
- Versatility: It works well with various tie fabrics and patterns, from silk to linen and from stripes to solids.
- Easy to Learn: While it may seem complex at first glance, the Kelvin Knot is surprisingly easy to learn and master with a little practice.
Step-by-Step Guide to Tying the Kelvin Knot
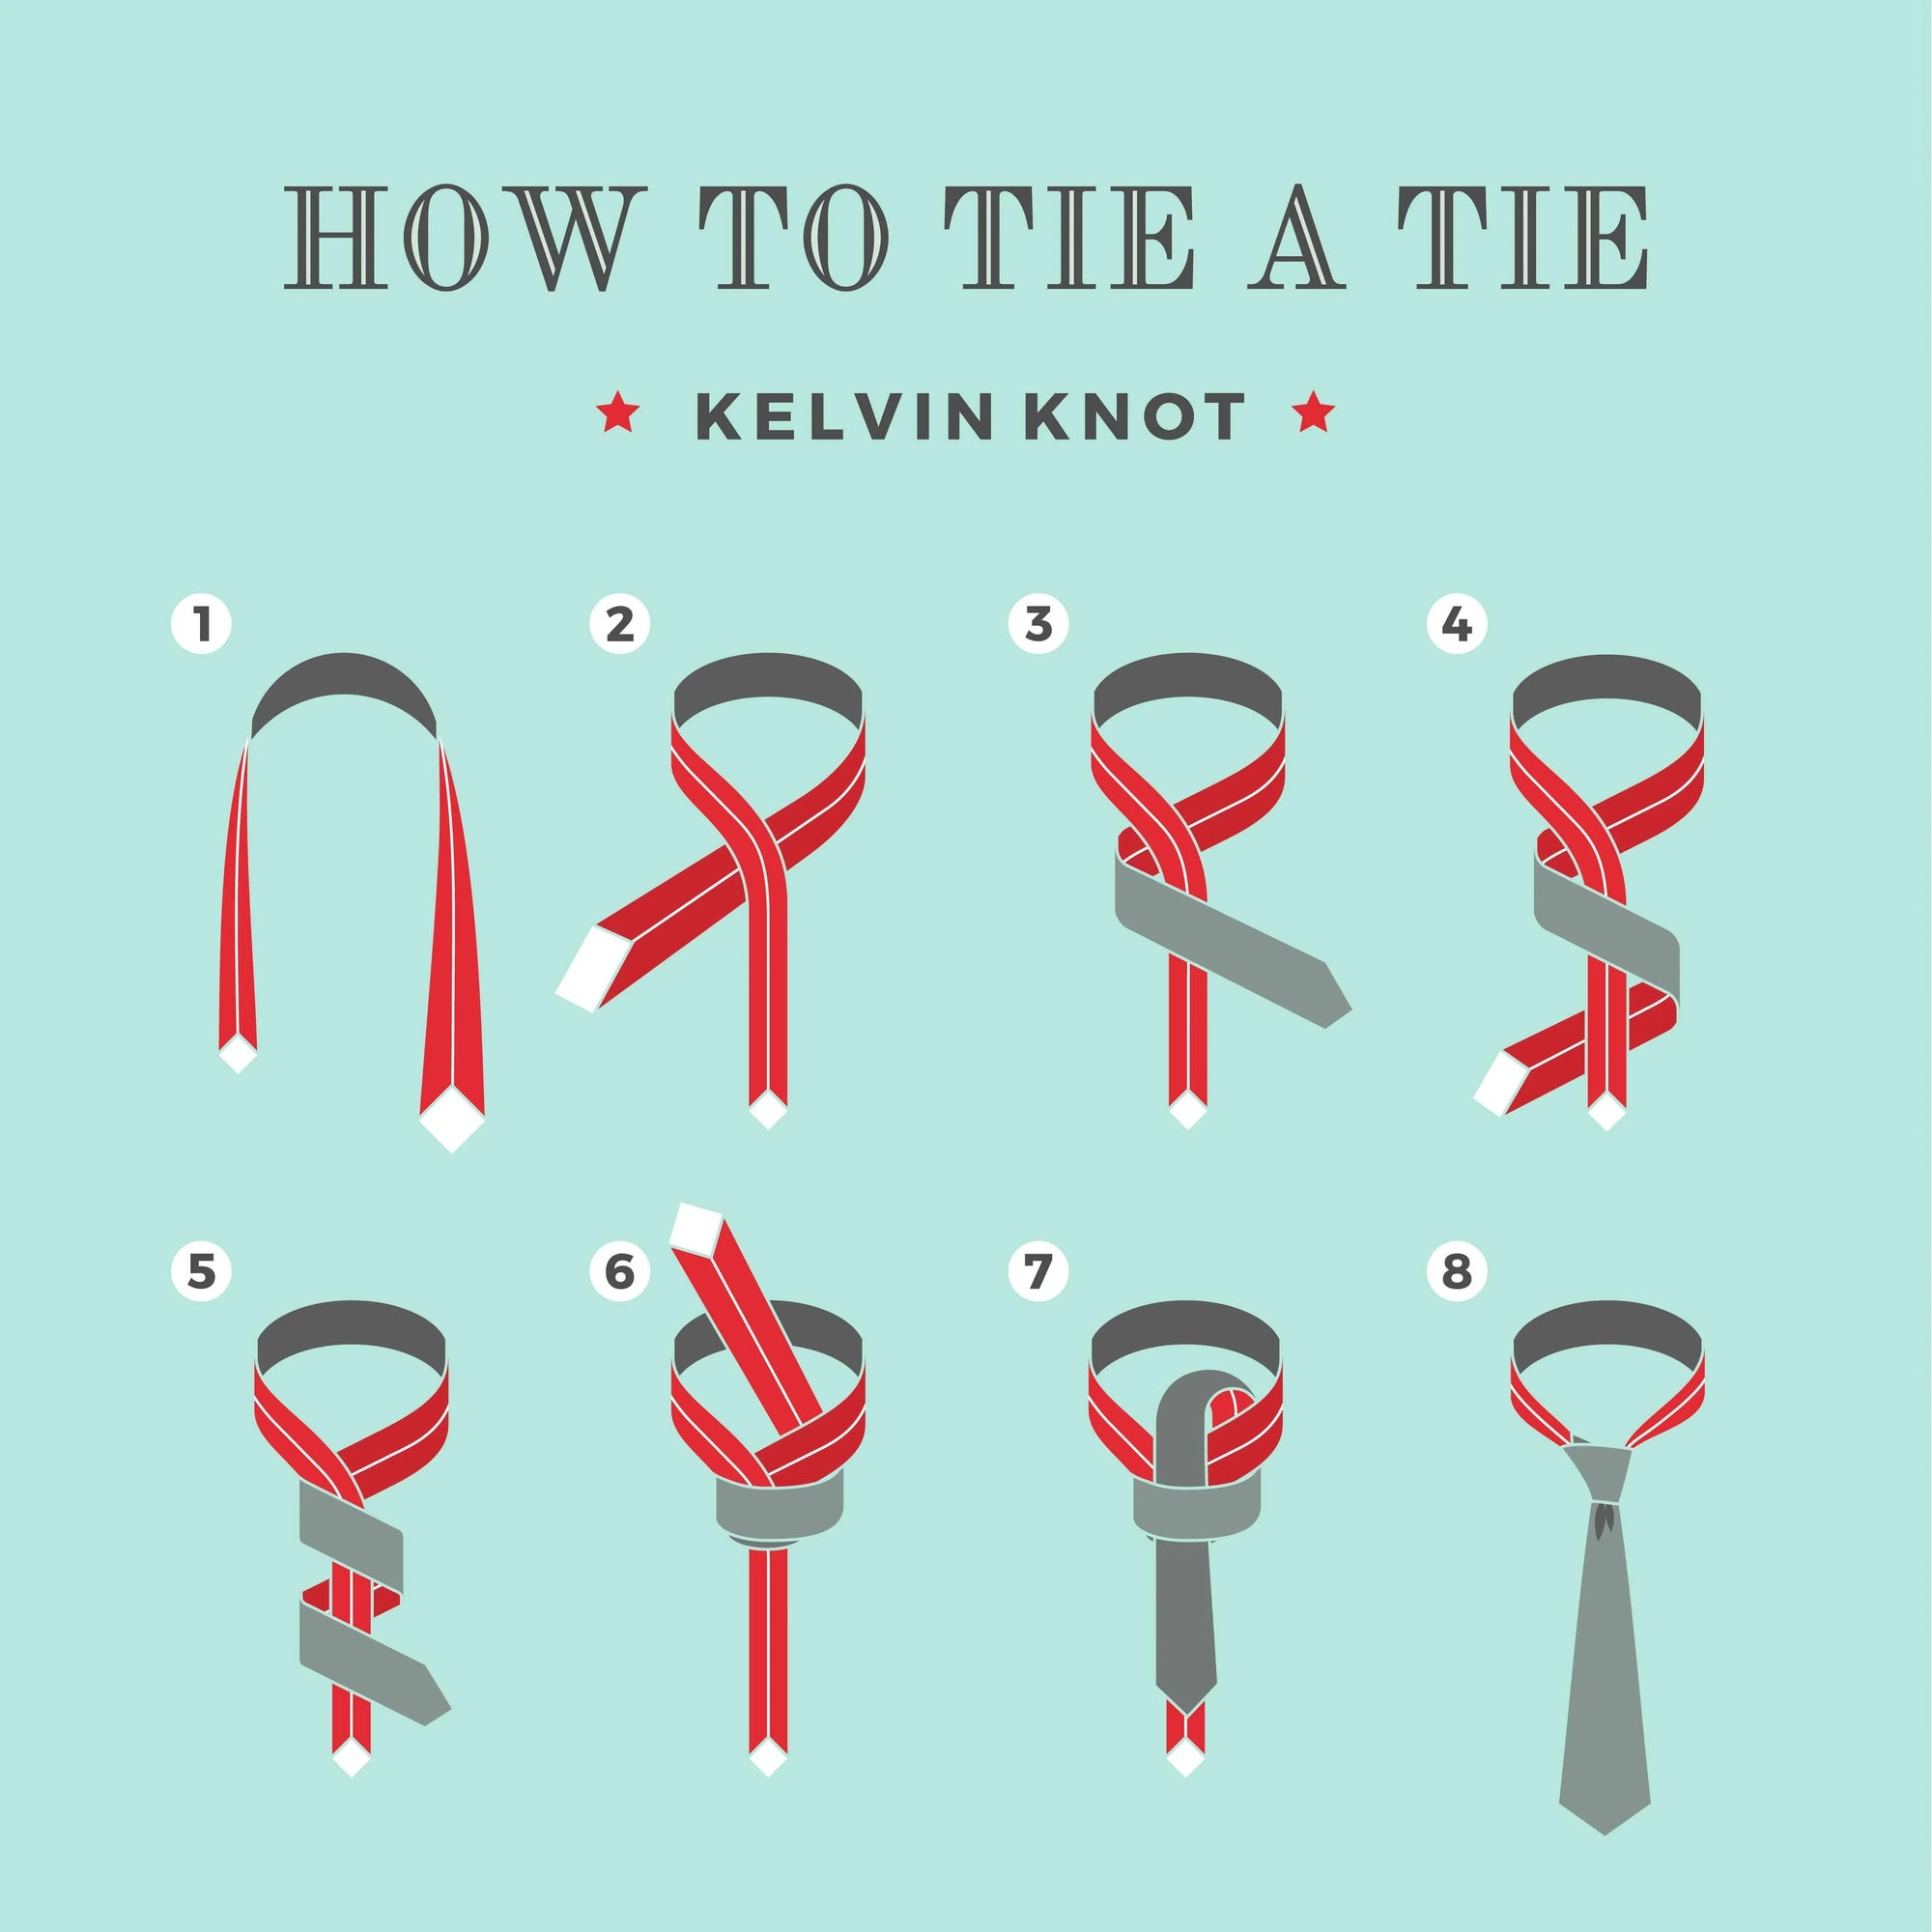
Step 1: Start with the Tie Around Your Neck
Begin by draping the tie around your neck with the wide end on your right and the narrow end on your left. Ensure the wide end hangs about 12 inches lower than the narrow end.
Step 2: Cross the Wide End Over the Narrow End
Take the wide end and cross it over the narrow end, forming an X-shape just below your chin.
Step 3: Loop the Wide End Under the Narrow End
Wrap the wide end underneath the narrow end and bring it back to the right side.
Step 4: Loop the Wide End Over the Narrow End Again
Cross the wide end over the narrow end once more, ensuring that it wraps snugly around the narrow end.
Step 5: Pull the Wide End Up Through the Neck Loop
Bring the wide end up through the loop around your neck, positioning it behind the formed knot.
Step 6: Pass the Wide End Down Through the Front Loop
With the wide end now behind the knot, pull it down through the front loop you created in the previous step.
Step 7: Tighten the Knot
Gently pull down on the wide end to tighten the knot, ensuring it sits neatly against the collar. Adjust as necessary to achieve a symmetrical and firm knot.
Step 8: Final Adjustments
Finally, hold the narrow end with one hand and slide the knot up toward your neck with the other, ensuring a snug fit. Make any final adjustments to the knot and the length of the tie.
Tips for Success
- Practice makes perfect: Like any new skill, it takes practice to master the Kelvin Knot. Don’t get discouraged if your first few attempts aren’t flawless.
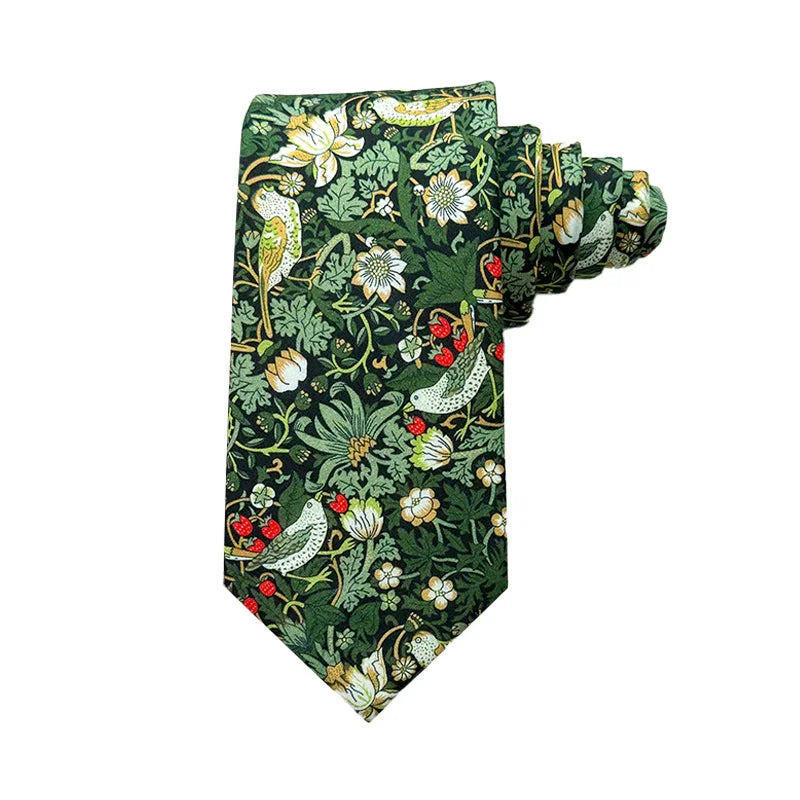
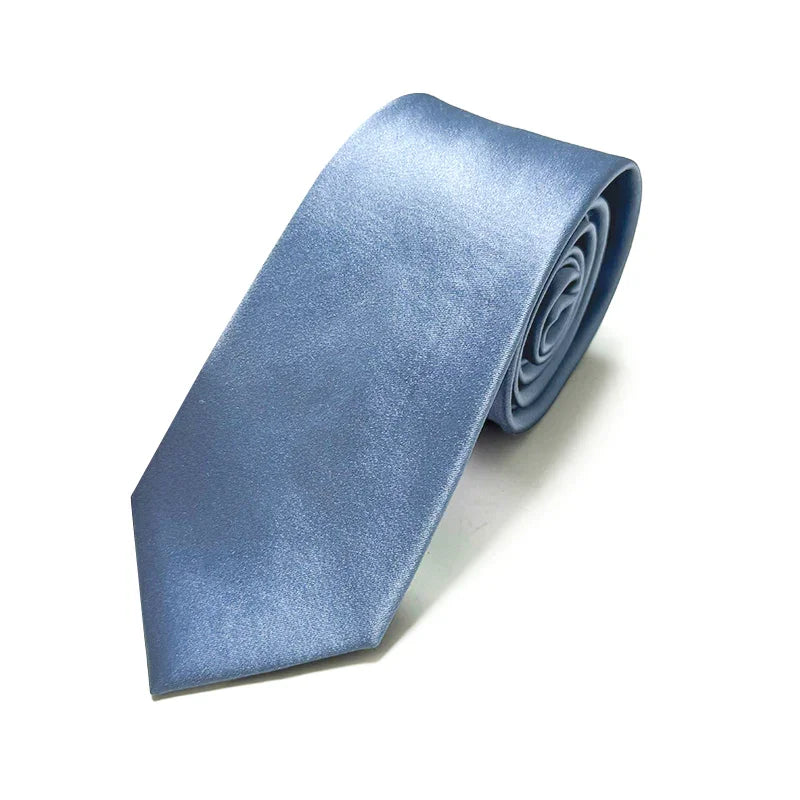
- Choose the right tie: The Kelvin Knot looks best with ties that are not too thick or too thin. A medium-weight tie will work best.
- Experiment with different colours and patterns: The Kelvin Knot is a versatile knot that can be worn with a wide range of tie styles.
The Kelvin Knot is a unique and stylish tie knot that will elevate your attire to new heights. By following this step-by-step guide, you can easily master this captivating knot and impress others with your refined fashion sense. With a little practice, you’ll be confidently tying the Kelvin Knot in no time.
Embrace the challenge, experiment with different variations, and enjoy the compliments that come with wearing this distinctive and elegant knot.